Sunday 21 September 2014

How To Enable Student Mail On Android [NUIG Only] Part 2

Last week, I covered how to enable Student Mail through the stock Email client on Android. As you may remember, I didn't entirely recommend it, as this required the Email app to be given the permission to wipe your device without warning, among other things.

Happily, I've done some more research into the matter, and found a far better solution. Instead of creating a Corporate Exchange account, instead we'll create an IMAP account on the phone. This method requires no special permissions, and is just as functional as the previous method I covered. Unlike the other method, however, this only syncs your Email, and does not include your contacts or calendar from your Student Mail.

First, go to Settings, scroll down to Accounts, and tap "Add Account".


Then tap "IMAP".


Enter your Student Email address, and tap "Manual Setup". Then tap "IMAP".


Type in your password and proceed by tapping the arrow in the bottom right-hand corner.


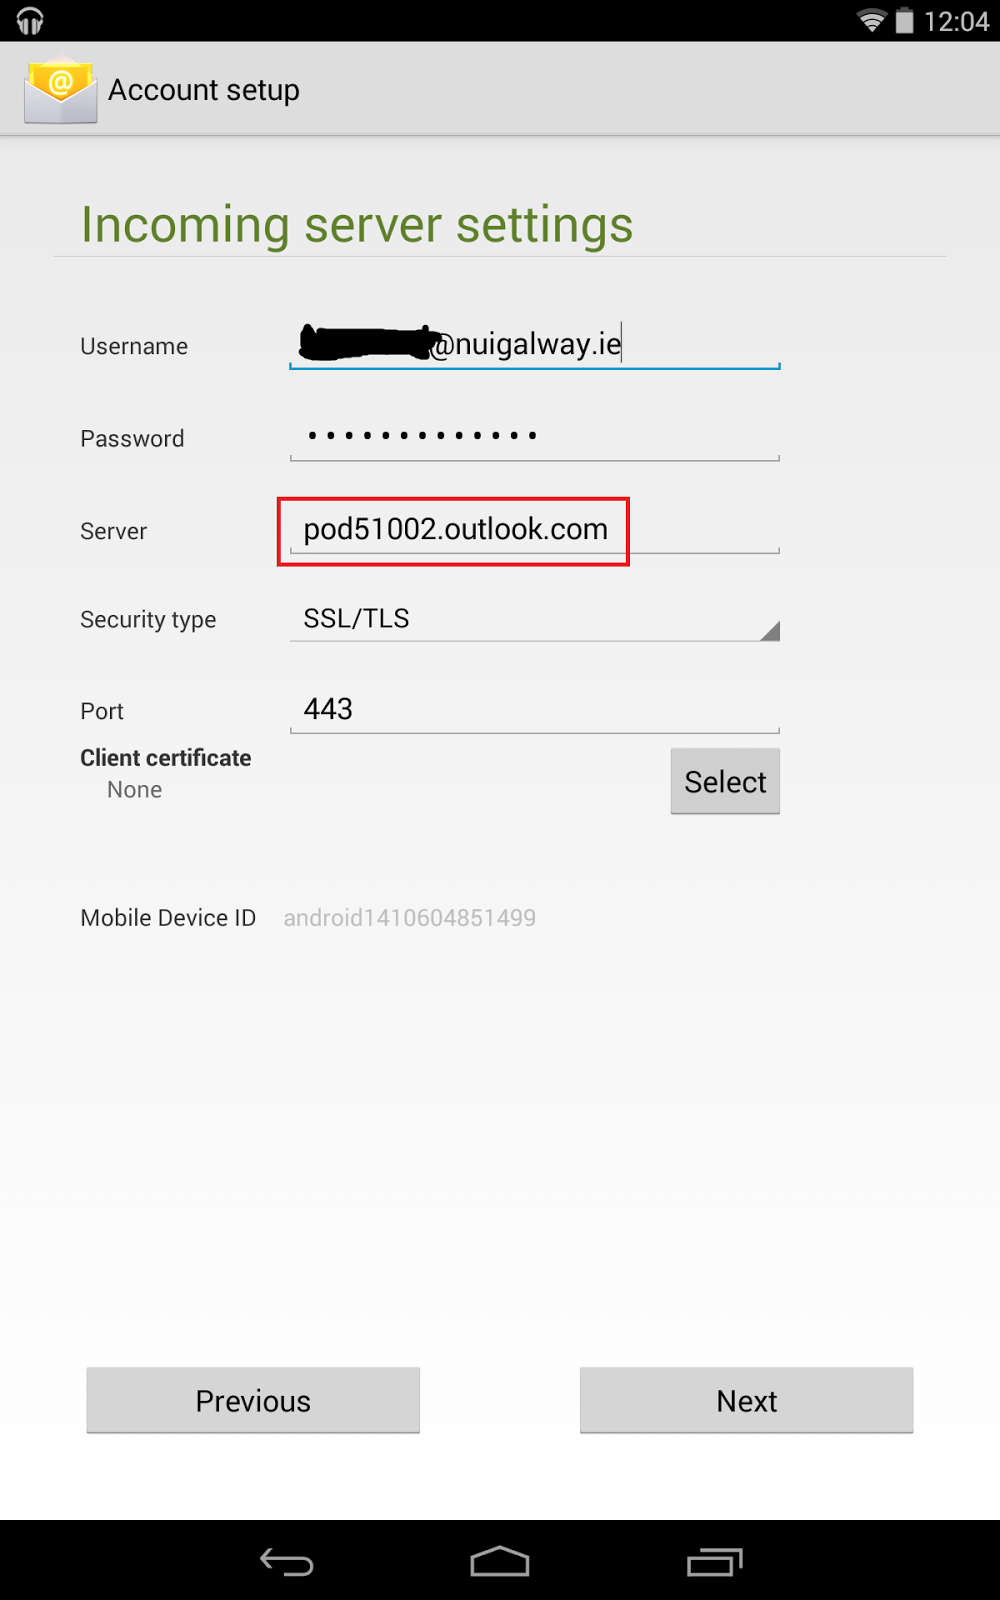
On the Incoming Server settings screen, change the server to "outlook.office365.com" as per the screenshot below. Set the security to "SSL/TLS", and make sure the port is 993. Tap the arrow in the bottom right-hand corner to continue.


Change the SMTP server to "smtp.office365.com", the security to "SSL/TLS", and the port to 993. Ensure the "Require sign-in" checkbox is unchecked.


That's it. You now have an Email app setup to sync with your Student Mail, with no ridiculous permissions whatsoever required. Enjoy!


Saturday 13 September 2014

How To Enable Student Mail On Android [NUIG Only]

You may have found that the only way to access your Student Mail on mobile, particularly on Android, is through a desktop web page. Surely there has to be a better way to check your mail?

Good news folks, yes there is! This guide will show you how to use the stock Email app on Android with your Student Mail. However, be aware that this causes the Email app to need very excessive permissions, as you can see below.

If you don't want to give the Email server these permissions, check out my other guide here.


If you're OK with that, then we can proceed. You need to navigate to Settings - "Add Account" - Corporate. At this screen, type in your Student Mail login details, and tap "Next", and then "Exchange".

At the "Account setup" screen, change the "Server" address to "pod51002@outlook.com". Then tap "Next".


Before editing


After editing

You will then be prompted about "Remote security administration". You need to accept this to enable Student Mail using the Email app.

Decide how, when, and what you want to notified about, and tap "Next". If you want, you can then name the account, This is completely optional. Tap "Next".

You will then be prompted to activate the Email app as a device administrator, which is where you can see how excessive the required permissions are. Assuming this is acceptable to you, scroll to the bottom of the permissions and tap "Activate".

That's it! You can now check your Student Mail through the stock Email app.